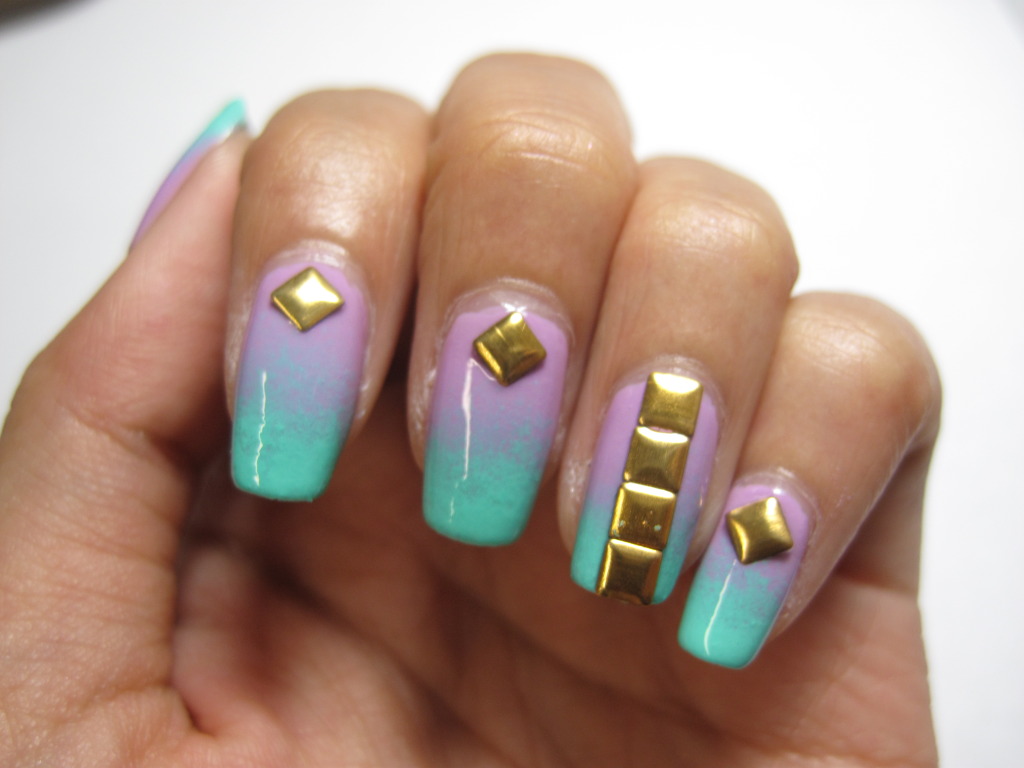
nails did, talonted tips
Talonted Tips: Gradient
 What You’ll Need
- Base coat
- 2 polishes (can be more)
- Makeup sponge
- Something to use as a palette for any excess (paper, parchment, foil, etc.)
- Top coat
STEP ONE
Apply base color
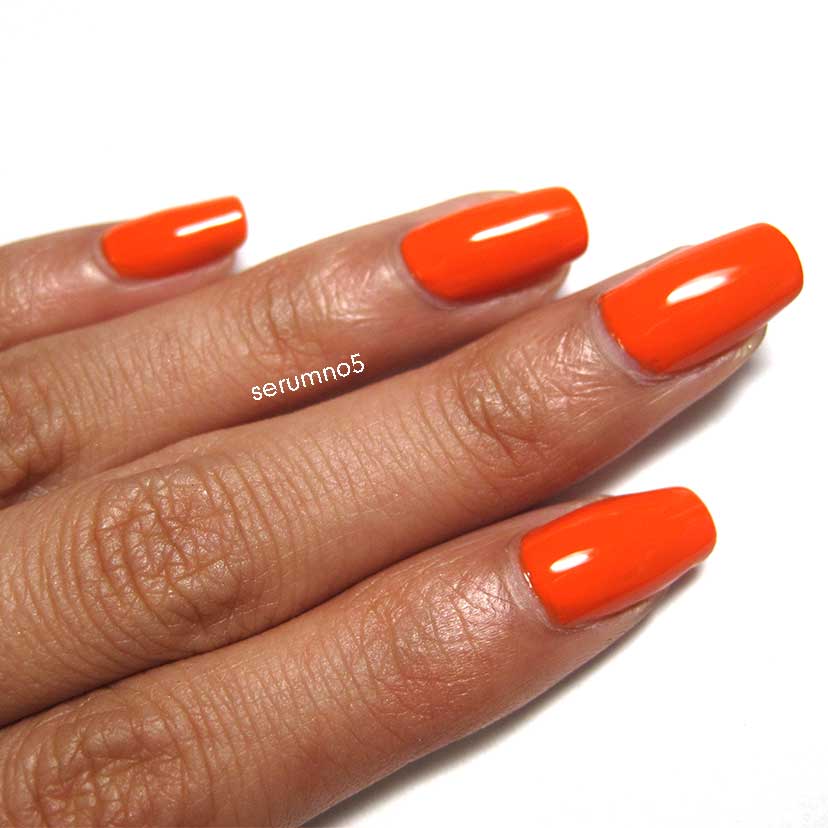
Paint nails your base color. Use the lighter of the 2 polishes, this will make it easier for the other color to show up when doing the gradient. I used Essie Fear or Desire.
STEP TWO
Paint the makeup sponge
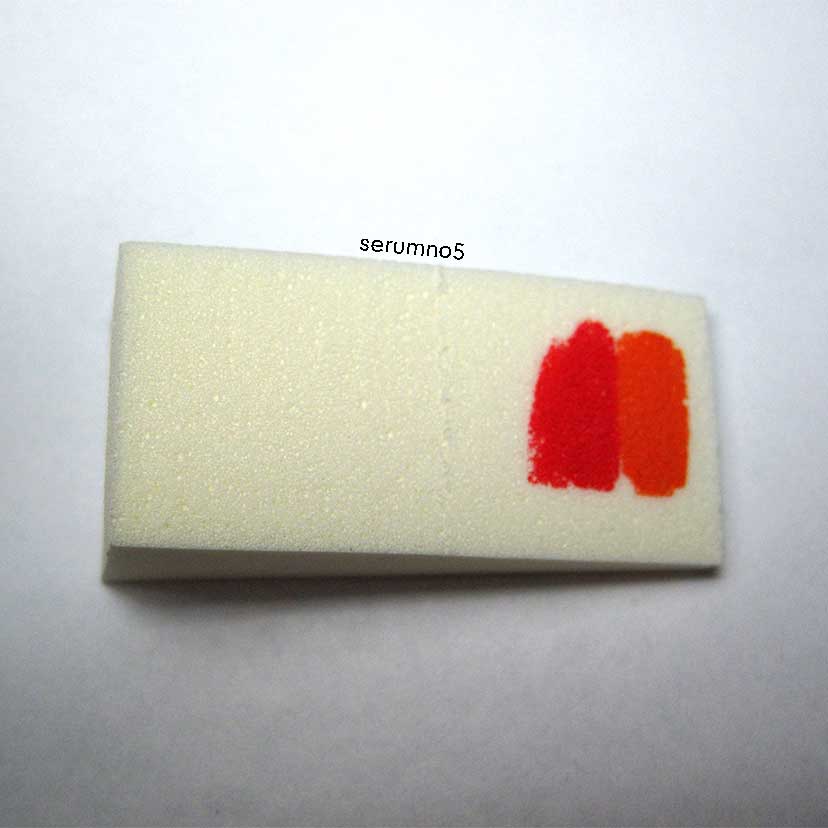
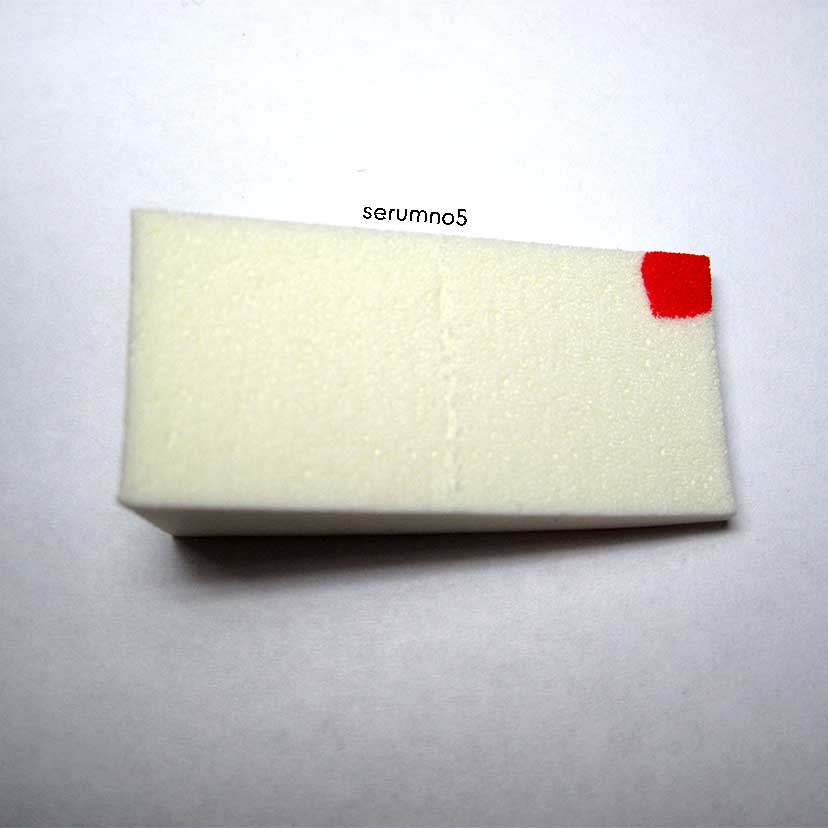
Using the makeup sponge, paint a line of your base polish onto the sponge. Directly underneath that, take your other color (Essie Come Here!) and paint a line onto the sponge. If the sponge seems too saturated, you can take your sponge and dab it onto the palette to remove the excess.
STEP THREE
Creating the gradient
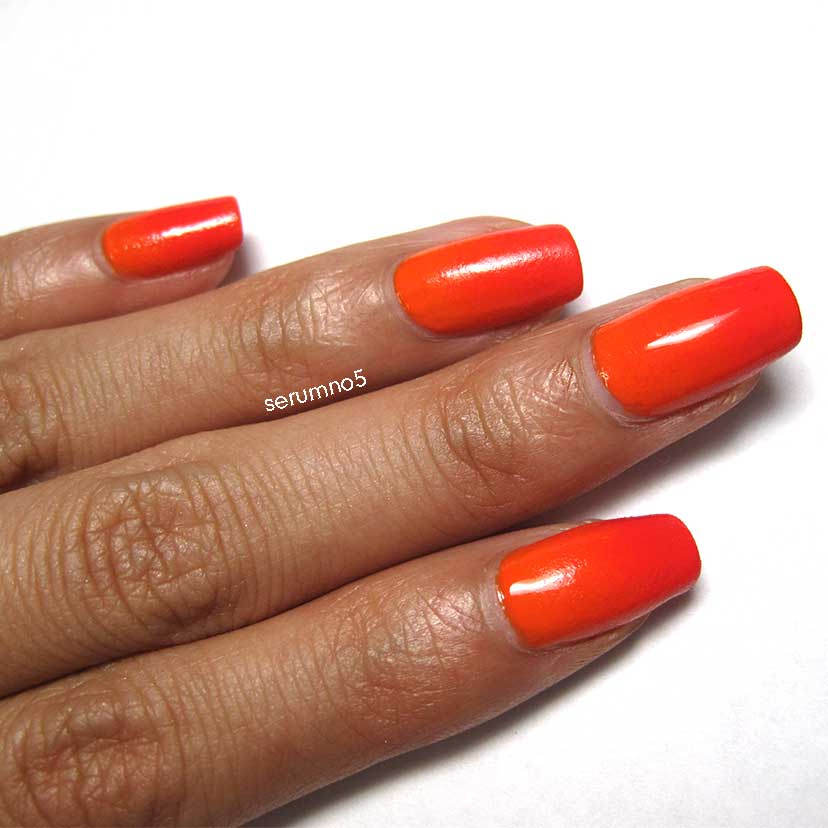
Take your makeup sponge and apply to your nail, using a dabbing motion. Continue dabbing and move the sponge slightly up and down the nail. This will blur the line between the two colors.
STEP FOUR
Increase the opaqueness of the gradient
If you see that your gradient is not as opaque as you’d like, after your first layer has dried, take your sponge and paint a spot in the corner. Dab onto the nail where you’d like the color to be more opaque. You can also dab up and down the gradient line to make it appear less uniform.
STEP FIVE
Finishing touches
Apply top coat. You’ll see that top coat helps the colors bleed/blend into each other.
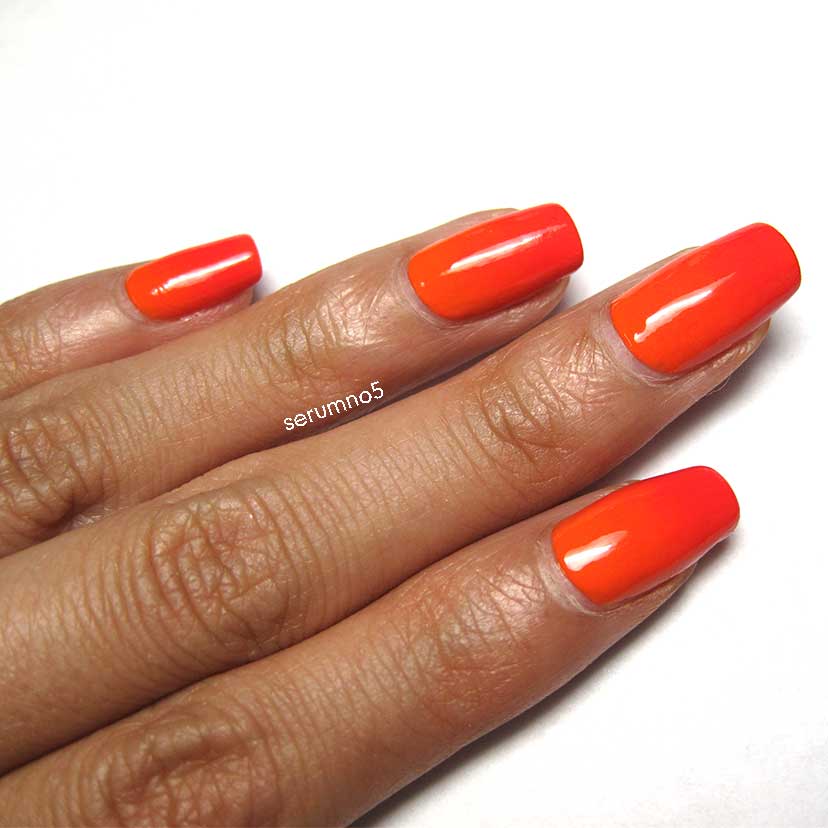
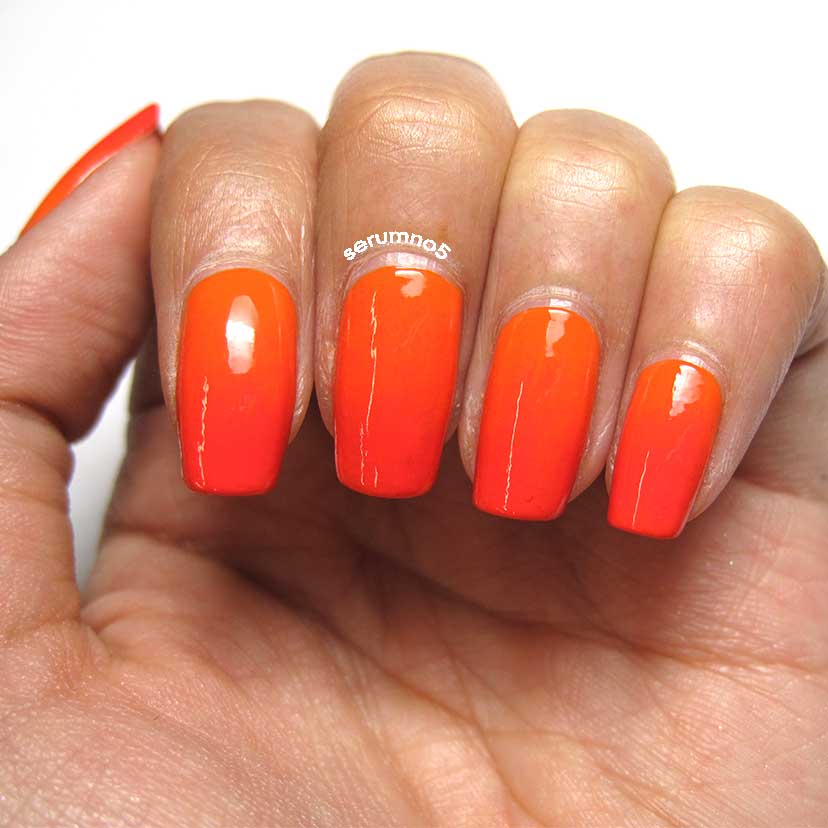
This is one way to create a gradient effect and to me, I think it’s the easiest. Another method is to place a dot of color on your palette, take the other color and place another color next to it. Take a toothpick mix the two colors where the meet using a swirling motion. Grab your sponge and dab directly onto the polish a few times. Then just dab onto the nail as described above.
Makeup sponges make a difference. Depending on the quality, it will affect the way the colors will blend together. A makeup sponge with finer pores will be easier to create a more seamless gradient. This is what I used for the gradient above. Porous sponges will create a gradient like the one below.
